Using Send Later in Ungdom.dk Webmail

If you want to schedule an email for the future, this feature will allow you to choose a time and date when the addressee is going to receive your email.
Unfortunately, Ungdom.dk (Telenor Danmark) doesn’t offer a feature to schedule emails in its webmail interface.
Good news though! Ungdom.dk (Telenor Danmark) supports IMAP, so you can use it and schedule emails for later if you add your account to Mailbird.
So, how do you schedule emails to send later from Ungdom.dk?
In order to access the send later feature with your Ungdom.dk (Telenor Danmark), just follow the steps below. You will be able to try it with Mailbird for free.
-
Download and install Mailbird
Mailbird is a desktop email client that is very convenient for managing multiple addresses, either in its unified inbox or separately. It supports most email providers, so you can boost almost any kind of account with unique features, including the “schedule email” one.
So, the first step is to download and install the app on your desktop. -
Add your Ungdom.dk account
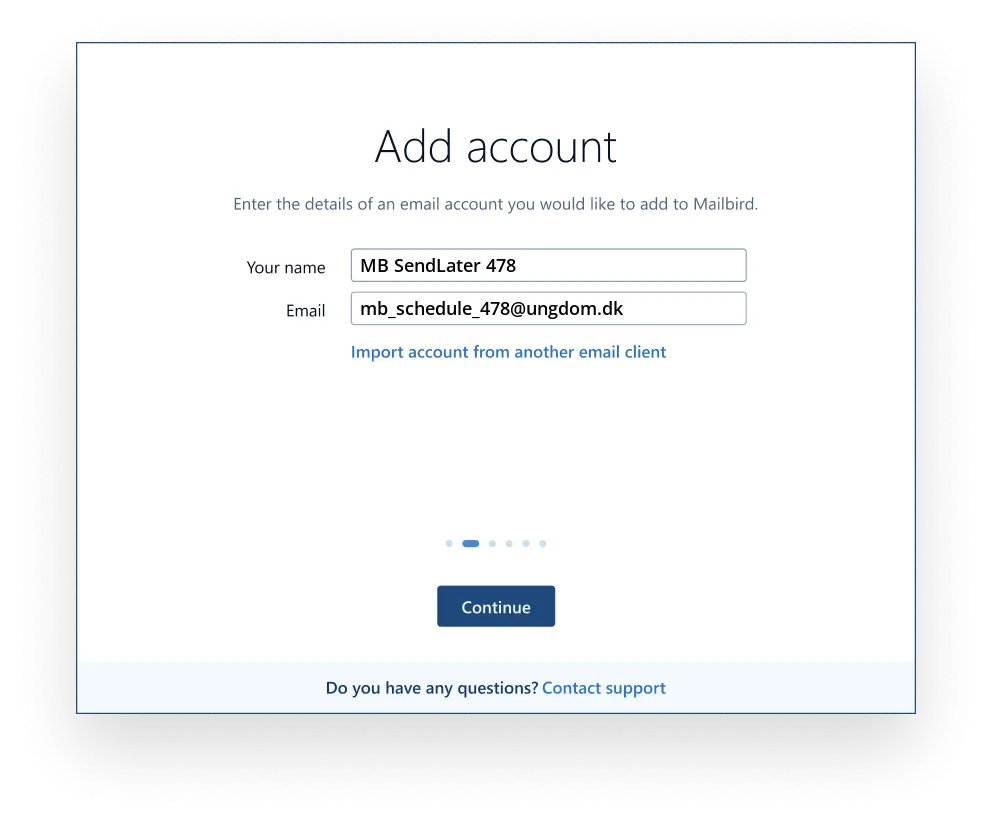
Launch the Mailbird app and add your name, Ungdom.dk address, and password. Then, wait for the server settings to configure (or do it manually with these instructions). You'll be able to add more accounts in the Settings menu later on.
-
Schedule an email to send later
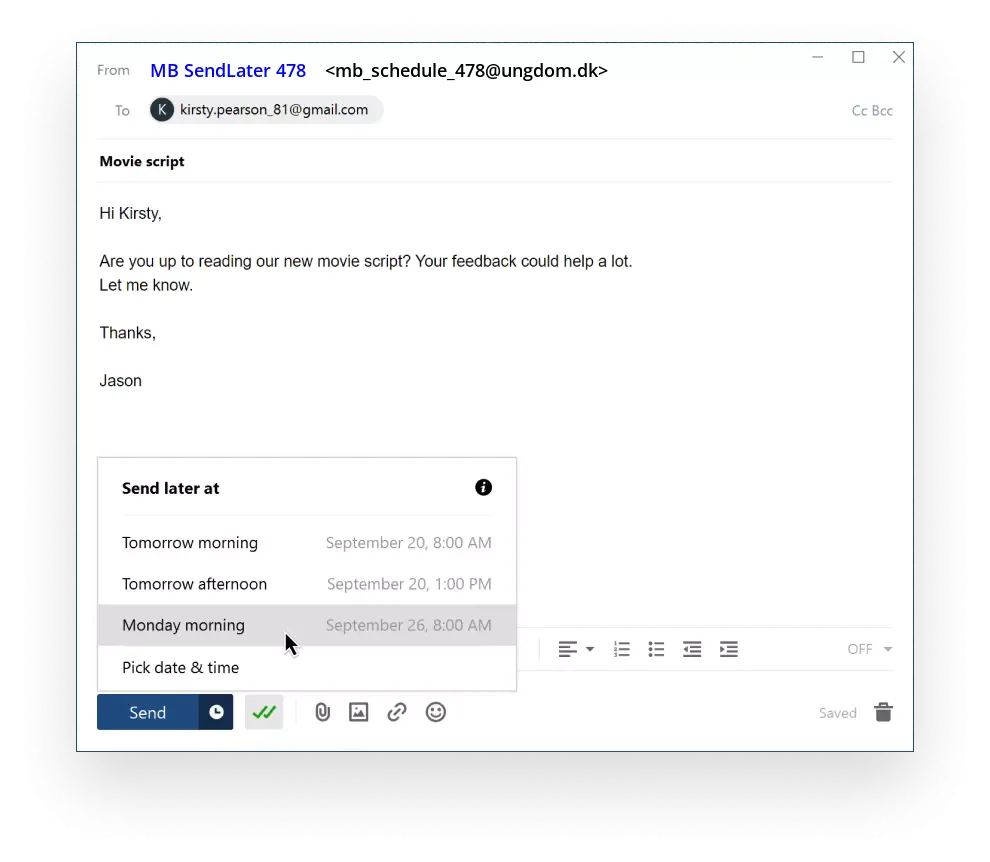
Once you compose an email and add recipients, instead of clicking the Send button, select the clock button beside it.
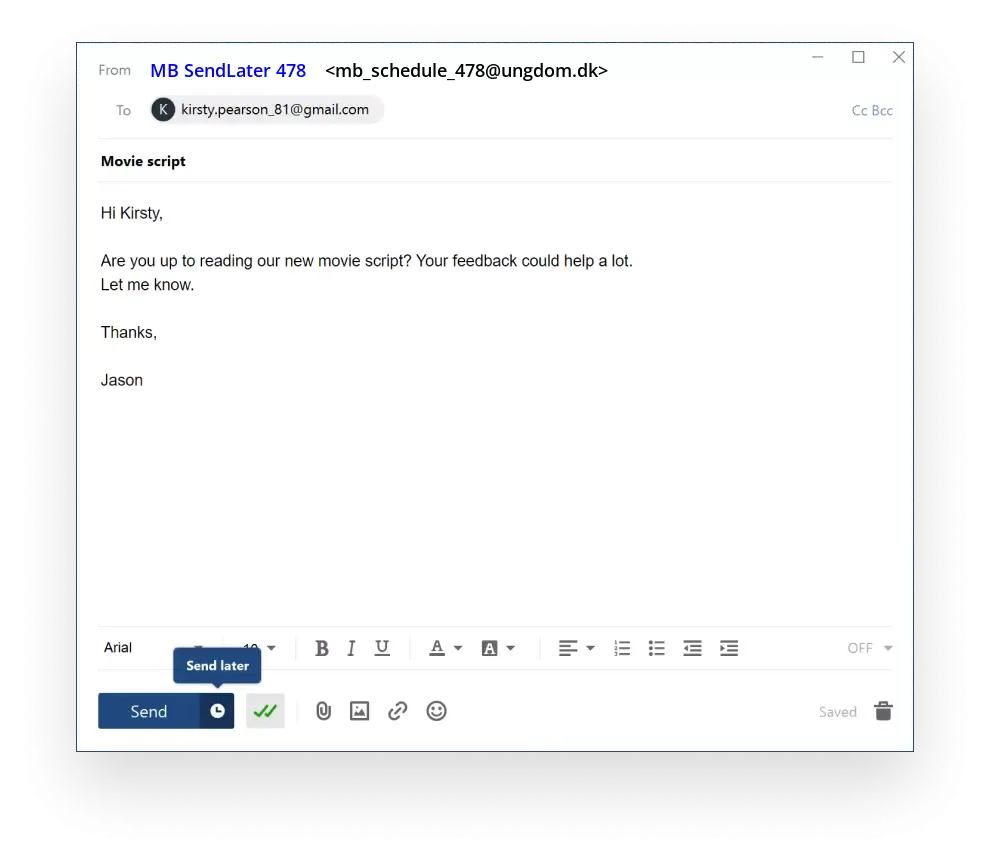
This button will open a menu where you can choose a pre-defined sending time or set a specific date:
